The goal
So recently I've embarked on some upskilling for work projects, specifically React Native, Typescript and GraphQL.
Resources
To assist me I've made use of:
- Todoist for task management;
- ChatGPT for tasks like generating data quickly;
- Visual Studio Code extensions:
- "nativeEmmet" for code snippets
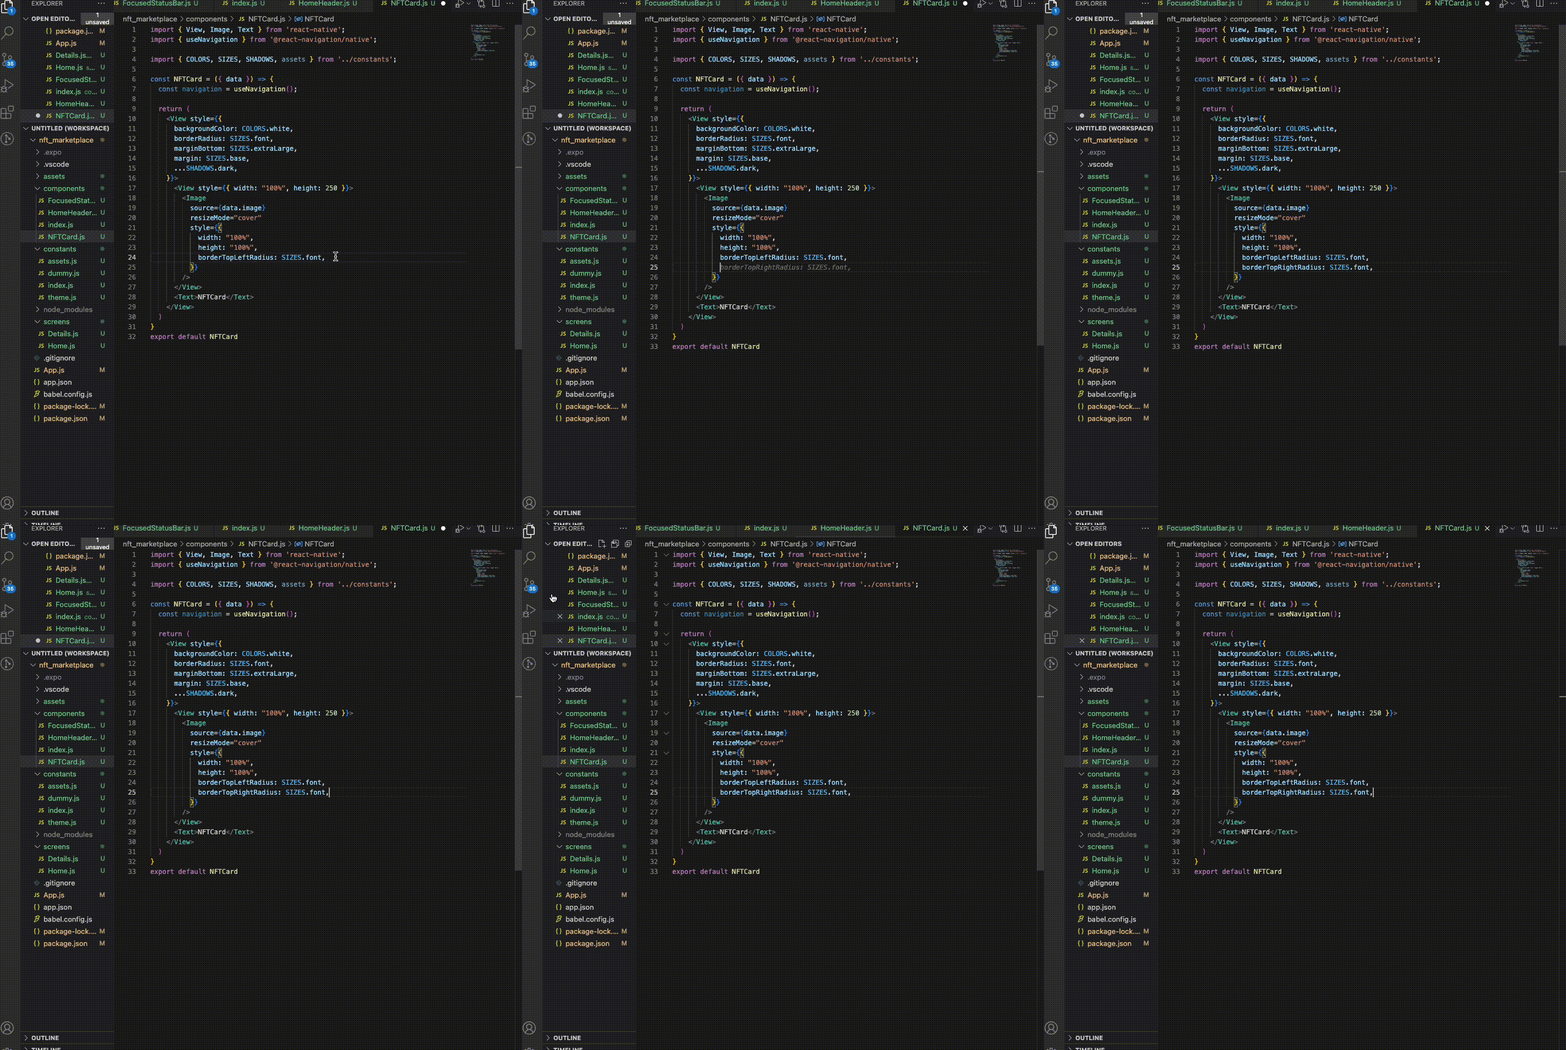
- "Github Copilot" for autocompletion of code, which actually has been trained on many public tutorials... check it out:
Course: [React Native - The Practical Guide [2023]
](https://www.udemy.com/course/react-native-the-practical-guide/)
Key learnings:
- TextInput field prop: Keyboard type
Projects:
- Goals App
- "Guess my Number" Game App
Tutorial 1 - NFT Marketplace Course
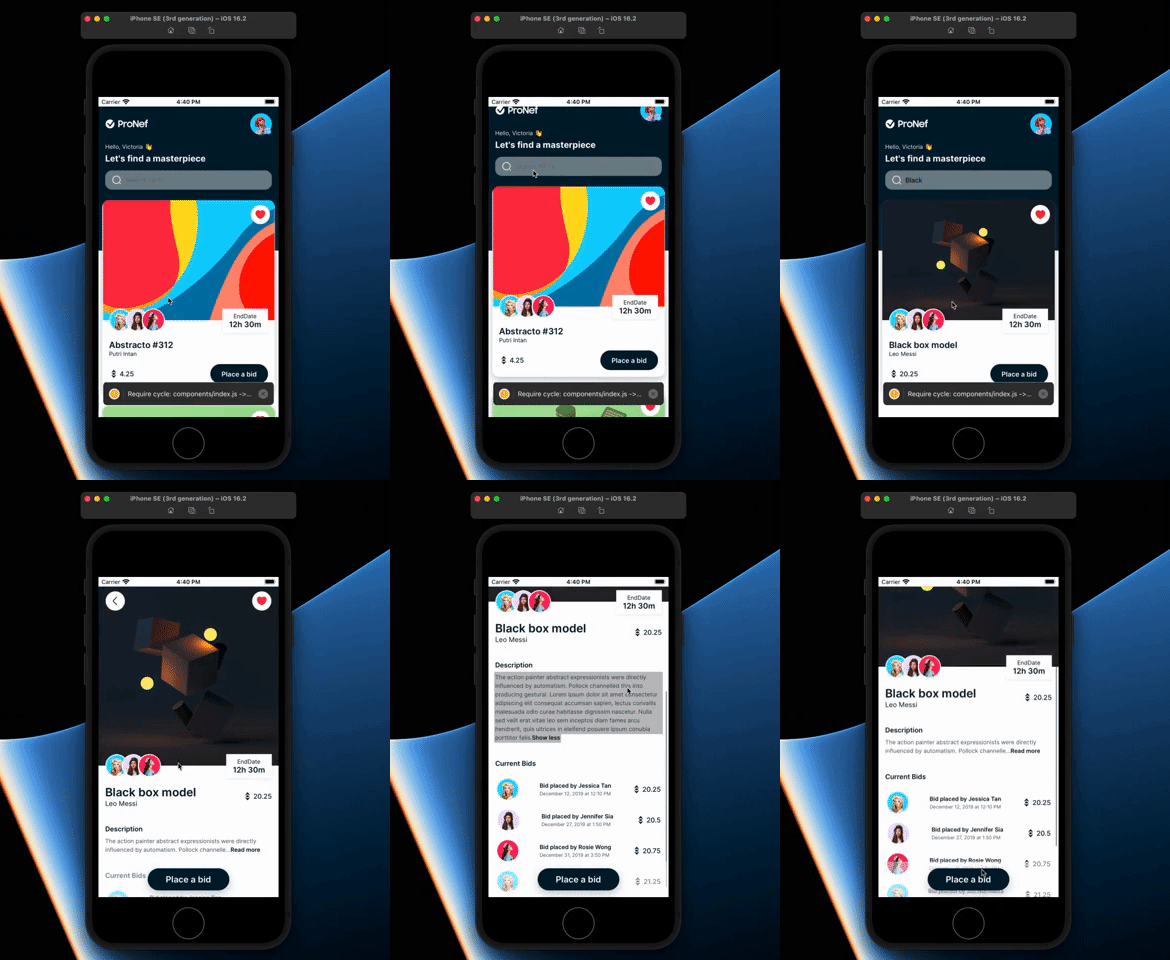
This was a basic react native app that gave exposure into basic UI/UX manipulation. One thing I enjoyed learning here was the way the presenter organised his assets, screens and layouts. His predefined COLORS, SHADOWS, FONTS and other assets really helped keep the code clean, making it a pleasure to build.
Link to Github Repo
To try out the app, first download Expo Go here:
Core Components learned:
- import { StatusBar, SafeAreaView, FlatList, View, Image, Text, TouchableOpacity, TextInput } from 'react-native';
Hooks learned:
- import { useIsFocused } from '@react-navigation/core'
- import { useNavigation } from '@react-navigation/native';
Others:
- import { createStackNavigator } from '@react-navigation/stack';
- import { DefaultTheme, NavigationContainer } from '@react-navigation/native';
- import { useFonts } from 'expo-font';
Tutorial 2 - UPS 2.0
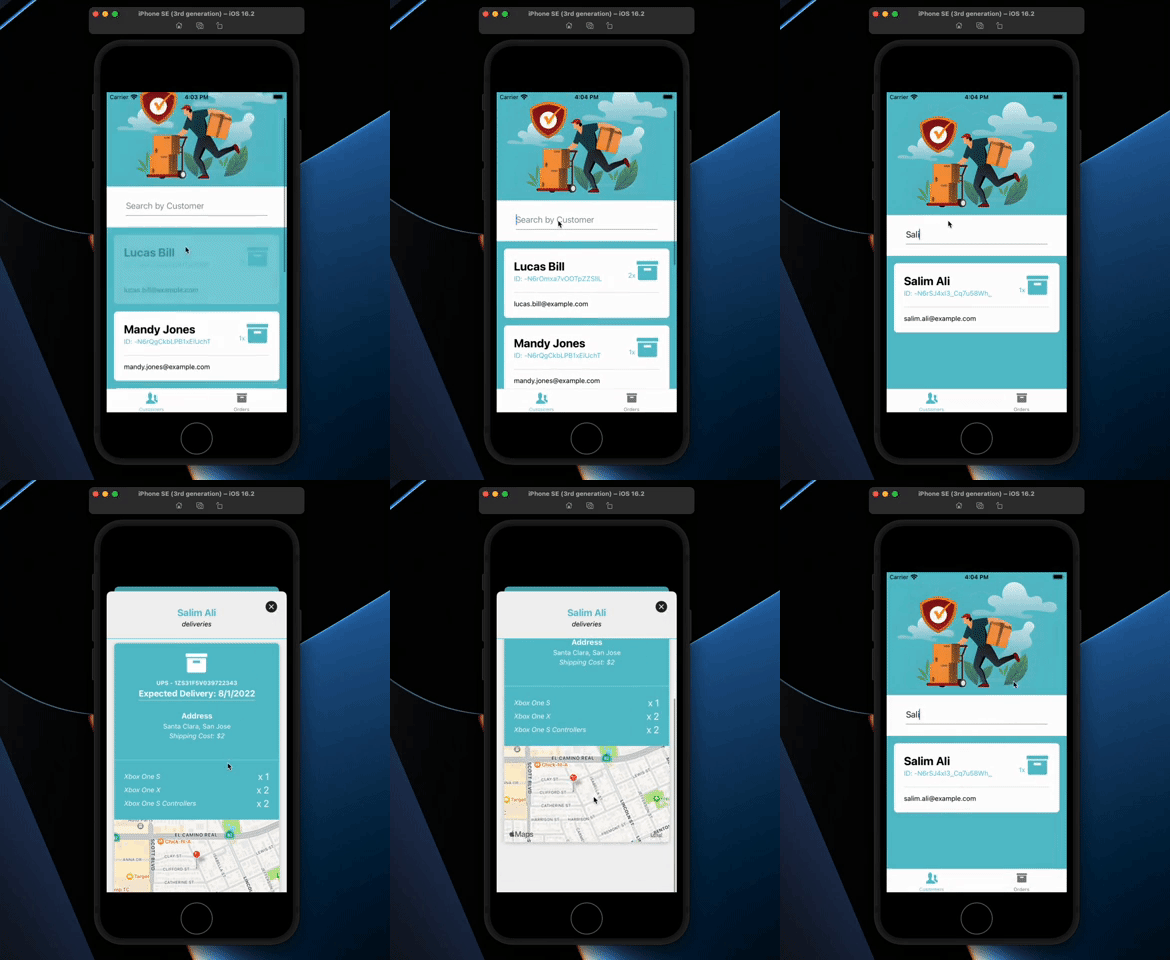
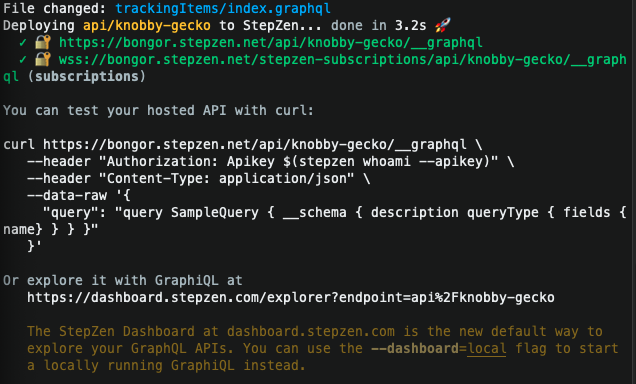
The reason I chose this particular tutorial was because it used the tech stack that we would be adopting (Typescript and graphql). This involved setting up a Firebase db. How they set up the GraphQL queries via Stepzen was interesting, the result of which can be found in stepzen/order/index.graphql and stepzen/trackingItems/index.graphql:

There was some magic code involved with something called a @materializer that did some hand wavy association between models, and if all goes well with how you hook them up you get the following after running stepzen start:
Link to Github Repo
Link to sample json data
Github repo instructions
stepzen startnpm run dev:tailwindexpo start
Using NavigationContainer, createNativeStackNavigator, useNavigation
When inspecting the RootNavigator.tsx file we create children of navigator components with Groups to represent several groups of screens inside a navigator (which, in turn, you can further configure screens with screenOptions). In this example the groups are:
- the Main screens that include the TabNavigator,
- ModalScreen
- OrderScreen
import { View, Text } from 'react-native'
import { createNativeStackNavigator } from '@react-navigation/native-stack';
import TabNavigator from './TabNavigator';
import ModalScreen from '../screens/ModalScreen';

export type RootStackParamList = {
  Main: undefined; // no props
  MyModal: { userId: string; name: string};
  Order: { order: any }; // todo: define order type
}

const RootStack = createNativeStackNavigator<RootStackParamList>();

const RootNavigator = () => {
  return (
    <RootStack.Navigator>
      <RootStack.Group>
        <RootStack.Screen name="Main" component={TabNavigator} />
      </RootStack.Group>

      <RootStack.Group screenOptions={{
        presentation: "modal",
      }}>
        <RootStack.Screen options={{ headerShown: false }} name="MyModal" component={ModalScreen} />
      </RootStack.Group>
    </RootStack.Navigator>
  )
}
export default RootNavigator
Creating Maps
expo install react-native-maps- import MapView, { Marker } from 'react-native-maps'
- in
DeliveryCard.tsx:
      <MapView
        initialRegion={{
          latitude: order.Lat,
          longitude: order.Lng,
          latitudeDelta: 0.005,
          longitudeDelta: 0.005,
        }}
        style={[tw("w-full "), { height: 200 }]}
      >
        {order.Lat && order.Lng && (
          <Marker
            coordinate={{
              latitude: order.Lat,
              longitude: order.Lng
            }}
            title="Delivery Location"
            description={order.Address}
            identifier='destination'
          />
        )}
      </MapView>
Nested Types!
export type OrdersScreenNavigationProp = CompositeNavigationProp<BottomTabNavigationProp<TabStackParamList, "Orders">, NativeStackNavigationProp<RootStackParamList>>

export type CustomerScreenNavigationProp = CompositeNavigationProp<BottomTabNavigationProp<TabStackParamList, 'Customers'>,NativeStackNavigationProp<RootStackParamList>>;

type ModalScreenNavigationProp = CompositeNavigationProp<BottomTabNavigationProp<TabStackParamList>, NativeStackNavigationProp<RootStackParamList, "MyModal">>
Core Components learned:
Hooks learned:
- import { useTailwind } from 'tailwind-rn';
- import { gql, useQuery } from '@apollo/client';
Navigation modules learned:
- import { createBottomTabNavigator } from '@react-navigation/bottom-tabs';
- import { createNativeStackNavigator } from '@react-navigation/native-stack';
- import { NavigationContainer } from '@react-navigation/native';
- const navigation = useNavigation();
- (MODALS!)
<TouchableOpacity onPress={() => navigation.navigate('MyModal', {name: name, userId: userId})}>
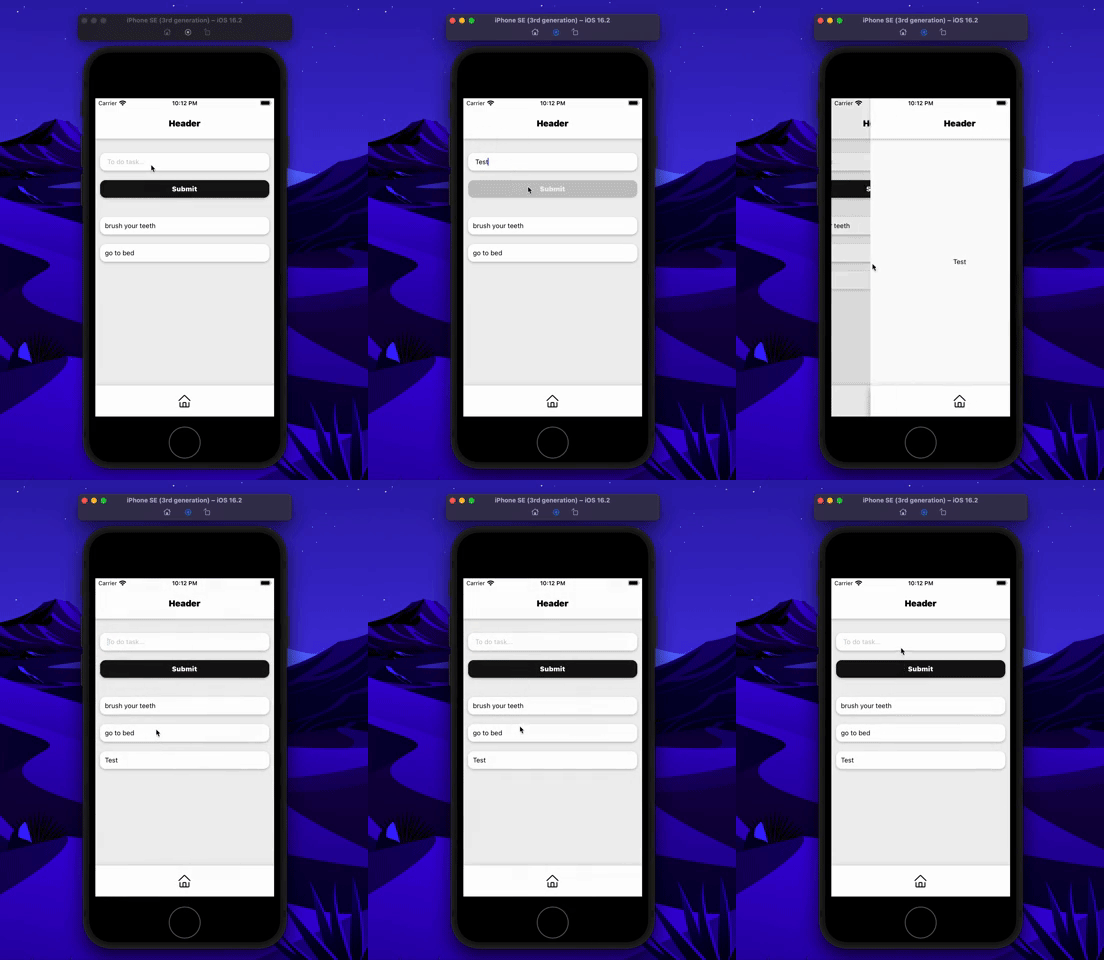
Tutorial 3 - To-do List w/push notifications, global state management & navigation
This lesson has push notifications by NativeNotify which involved a simple one liner added to the App() functional component:
registerNNPushToken(7906, '8eUxkdUkqd3AyXffe9b7aT');
Global state management - first we set up the hooks and state variables
Typescript was my attempt despite the lesson being in normal JS.
Link to Github Repo
Core Components learned:
Hooks learned:
Others:
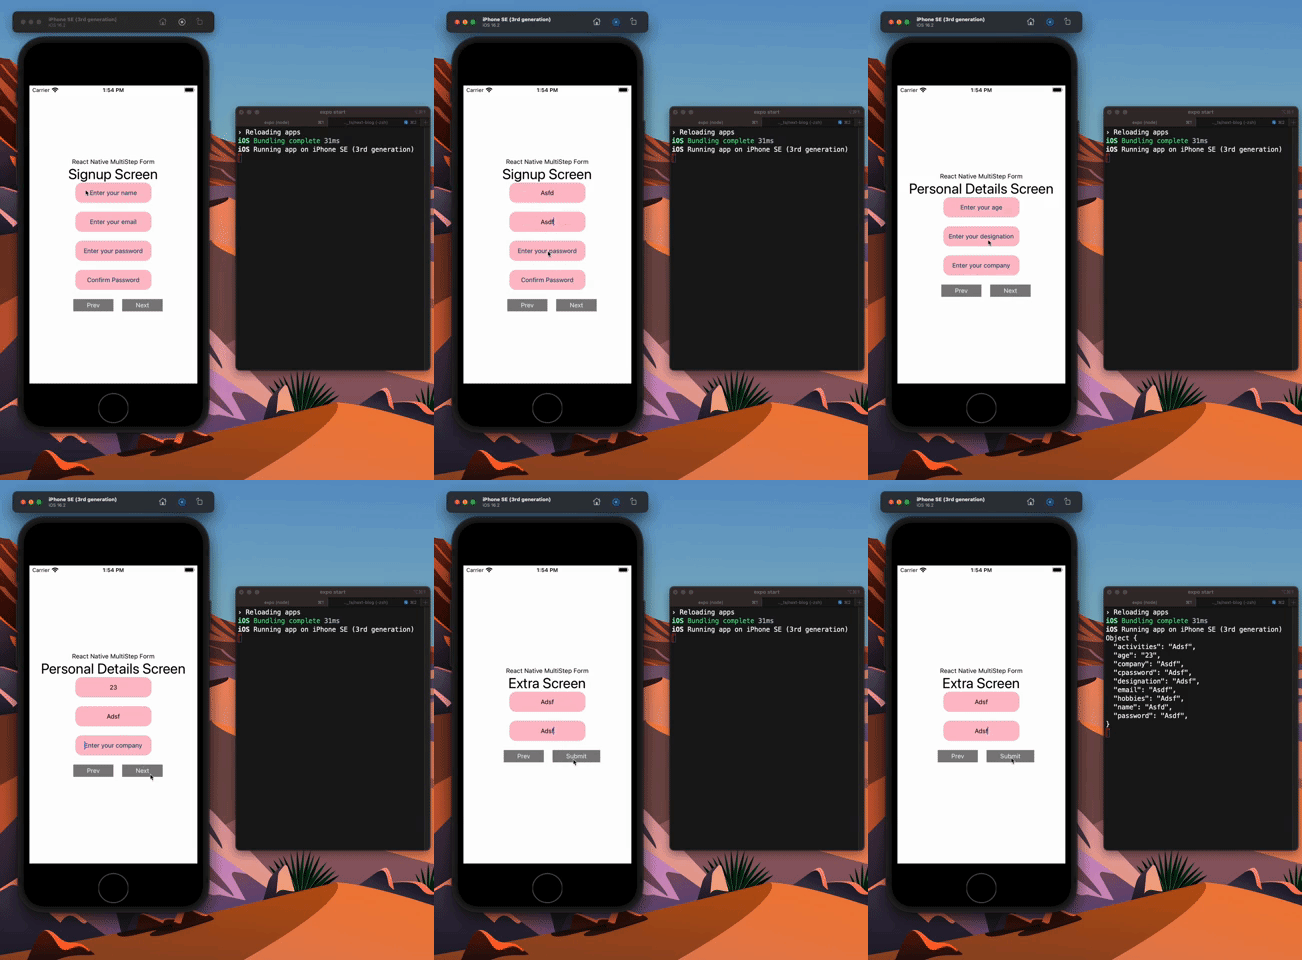
Tutorial 4 - Multi Step Form
This lesson has was a bit of a challenge as I think the presenter was speaking Hindi (thankfully with English subtitles!). But really simple React without using any 3rd party libraries!
In a Form.js component, his approach was to create a single state object called formData which would continue to be updated with setFormData as the user progressed through the multiple form pages.
We create a numeric state variable to track where the user is in terms of navigation, called screen.
Then we create an object for FormTitle, with each screen's title to be called with the screen state variable.
The Form.js component is used in the App.js root.
Then we create a button using the Pressable object from the react-native module.
Next we create a function called ScreenDisplay and place conditions for what screens should be rendered with each screen state.
- change the onPress(es) to setScreen with tracking prop and increament/decrement by 1;
- disable it if state variable
screen === 0
Then we send our form states to all of our components as props, and when adding/updating data through the TextInput objects, remember to use the spread operator to keep our state saved if we change anything else in our next component!
On the last screen, we can ensure the button says "Submit" with the following in Form.js:
        <Pressable
          onPress={() => {setScreen((currScreen) => currScreen + 1)}}
          disabled={screen === FormTitle.length - 1}
        >
          <Text style={styles.button}>{ screen === FormTitle.length - 1 ? "Submit" : "Next"}</Text>
        </Pressable>
Question: how are we going to render the button functionality to render it if it's on submit state? Answer:
        <Pressable
          onPress={() => {
            if (screen === FormTitle.length - 1) {
              console.log(formData);
            } else {
              setScreen((currScreen) => currScreen + 1)
            }
          }}
        >
          <Text style={styles.button}>
            { screen === FormTitle.length - 1 ? "Submit" : "Next"}
          </Text>
        </Pressable>
Link to Github Repo
